MACHINE TRANSLATION (not authorised yet)
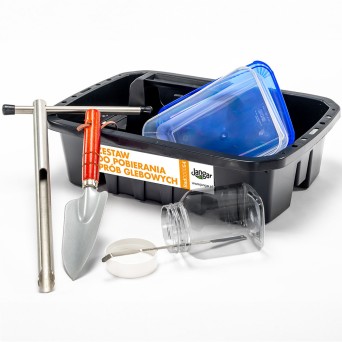
There are many instruments used to take soil samples for testing. You can get them individually or in sets. To get best results you should use them properly as described below.
To collect soil samples, the following procedure can be followed:
-
Soil Auger: Insert the auger into the soil by twisting it clockwise until the desired depth is reached. Rotate the auger gently while applying downward pressure to collect the soil sample. Slowly withdraw the auger from the soil, making sure not to lose the collected sample.
-
Soil Tube Sampler: Drive the tube sampler into the soil using a mallet or hammer. Ensure that the sampler penetrates to the desired depth. Once inserted, extract the tube sampler from the soil while keeping it upright to prevent sample spillage.
-
Soil Trowel: Dig a small hole in the soil using a soil trowel or a shovel. Collect a representative sample from the sidewalls and bottom of the hole, avoiding surface debris or stones. Place the collected soil sample into a clean container.
-
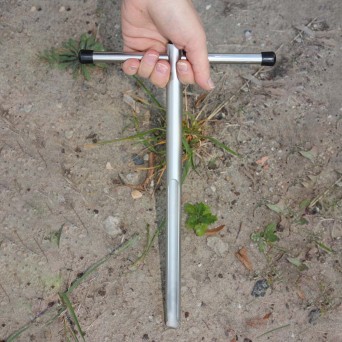
Soil Probe: Push the soil probe into the ground, applying steady pressure until the desired depth is reached. Rotate the probe slightly and withdraw it, allowing the soil sample to enter the hollow tube. Remove the probe from the soil and transfer the sample into a suitable container.
-
Soil Core Sampler: Insert the core sampler into the soil using a twisting motion until the desired depth is achieved. Rotate the sampler in the opposite direction to dislodge the core sample. Gently remove the core sampler from the soil, ensuring that the sample remains intact.
When collecting soil samples, it is important to avoid cross-contamination between samples and ensure that the tools used are clean and free from any contaminants. Label each container with relevant information such as the sampling location, depth, and date. Properly sealing and storing the soil samples will help maintain their integrity for further analysis.


